Last year, I finally got around to purchasing a reading chair, and was absolutely astonished by how expensive ottomans are. I suppose an ottoman might be considered a nice-to-have. Clearly, mainstream furniture brands assume that if you’re in the market for one, you must be willing and able to drop anywhere between $100–$450!
The great thing about having (or growing) sewing skills is that you can make your own. 😈
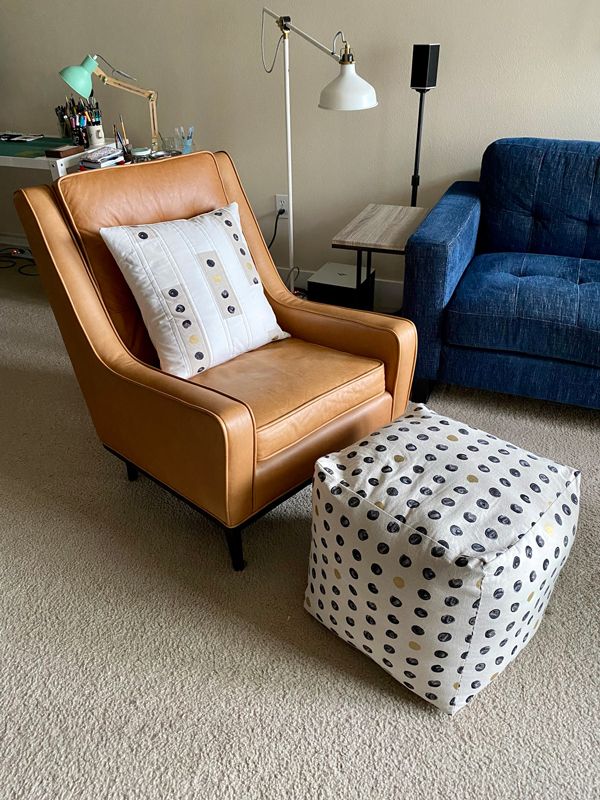
So, over the past several months, I’ve been working away at a pouf ottoman and new pillow for my reading chair! The pouf I actually finished way back in February; everything takes me forever, and I wanted to prioritize the ergonomics of being able to put our feet up when we read.
For the pouf, I followed this pattern from The Happy Housie. I was worried that sewing together the edges into a cube would be a bit fiddly, but actually, things seem to fall into place quite naturally.
The larger drama actually was polyfil’ing this thing. I had ordered pillow inserts (for pillows), and polyfil (for the pouf) online. The package with my polyfil was stolen or lost or something—whole long saga—so I ended up in short term pulling the polyfil out of the pillow inserts and using it in the pouf. Once some polyfil finally showed up, I put that in the pillow insert. Hence the pillow looks a little lumpy, because I am not a factory machine.
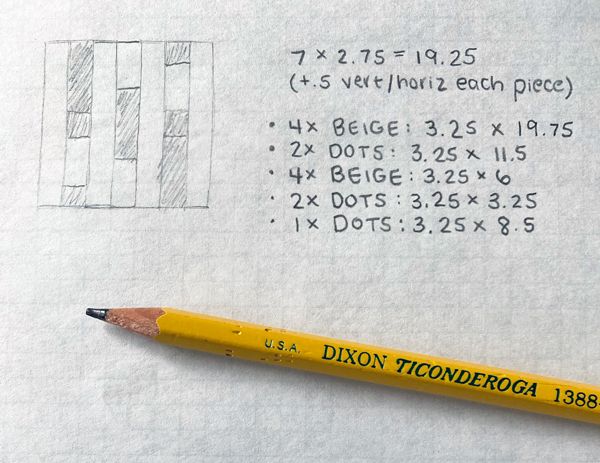
For the coordinating pillowcase, I ended up sketching my own simple design. I had purchased 24" pillowcases, thinking that they were measured corner-to-corner, like a monitor screen. They are not. I ended up cutting down one insert to 20" and sewed that back up again. For the other insert, I’ll keep it 24" and use it as a floor pillow.
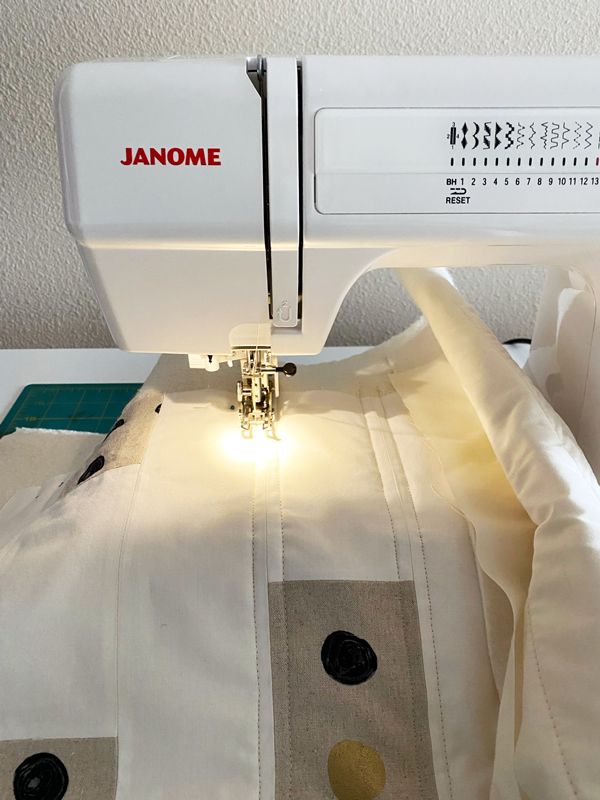
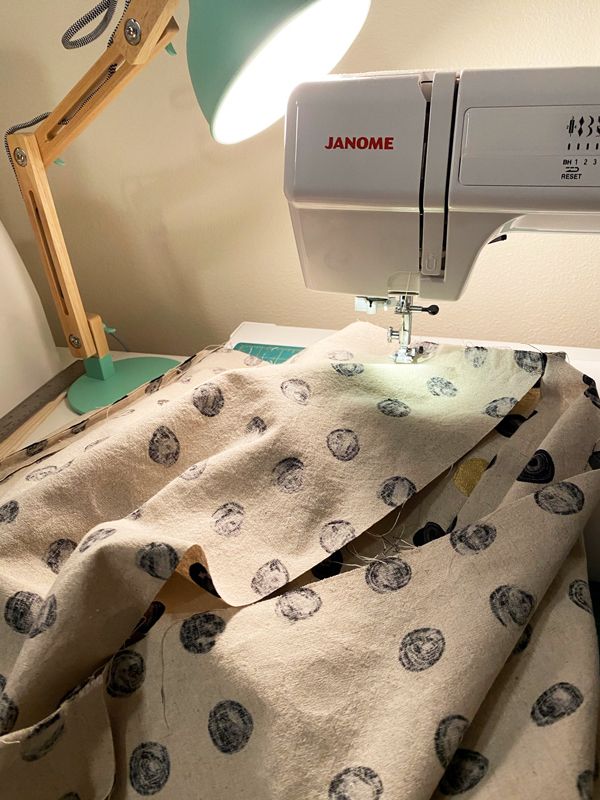
First time quilting anything or using a walking foot! Speaking of expensive items…at least this is a one-time purchase.
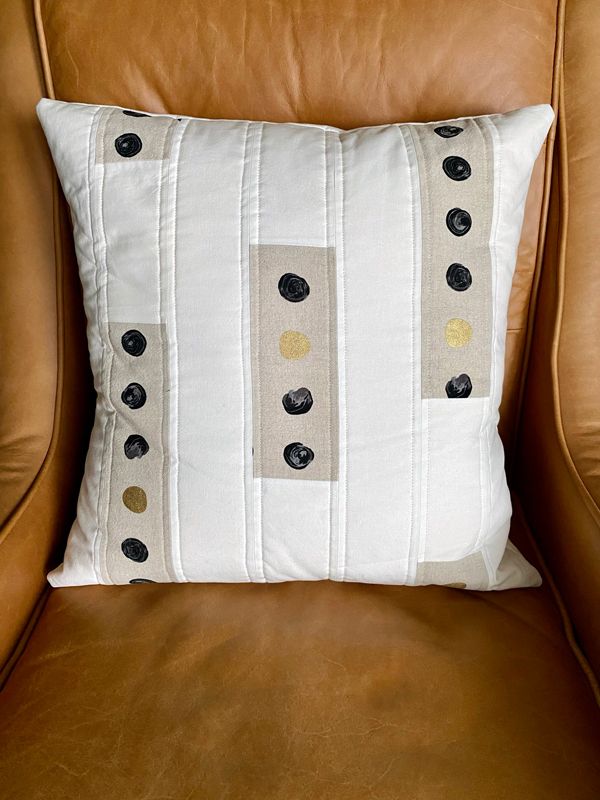
The completed pillow! It’s a little wrinkly because I could not help but use it immediately.
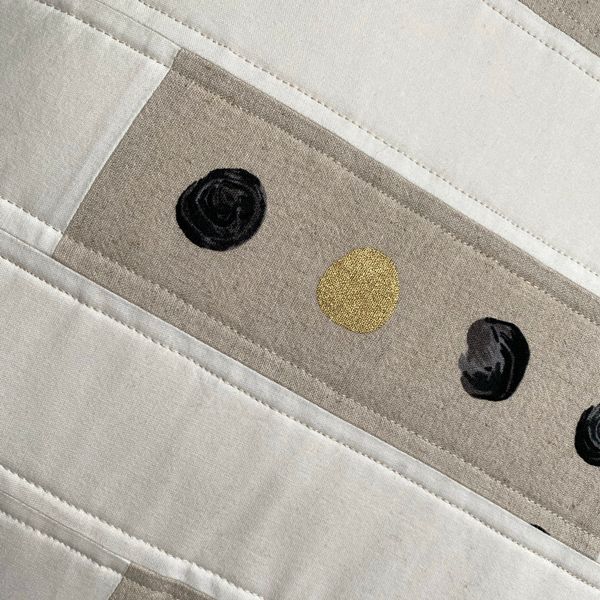
The linen fabric is not hand-stamped/painted (though that would be fun!). Rather, I purchased it from Stitches in Seattle.
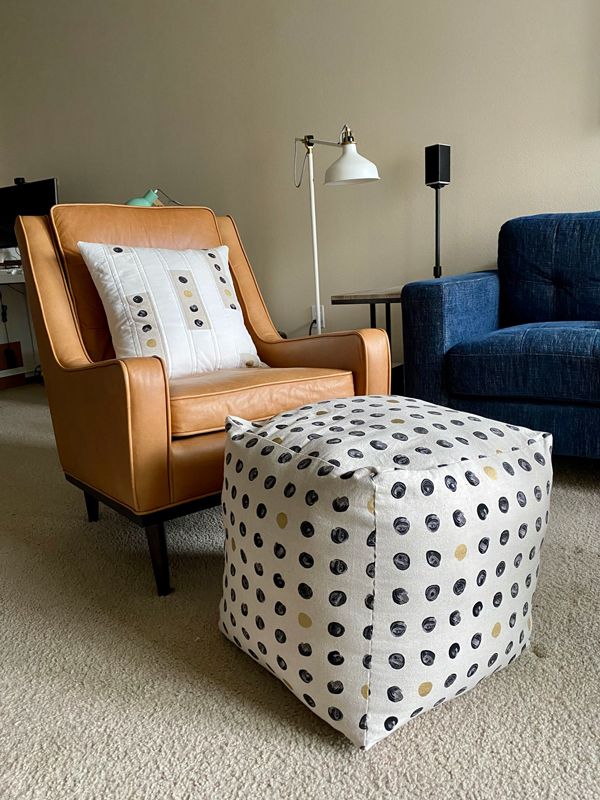
While I can spot all the imperfections that come with trying something new, I’m really pleased with and proud of my pillow-and-pouf combo! It’s so satisfying to make something useful for your own home…and a nice bonus to save some money doing so.
Comments
Saili
Add a Comment