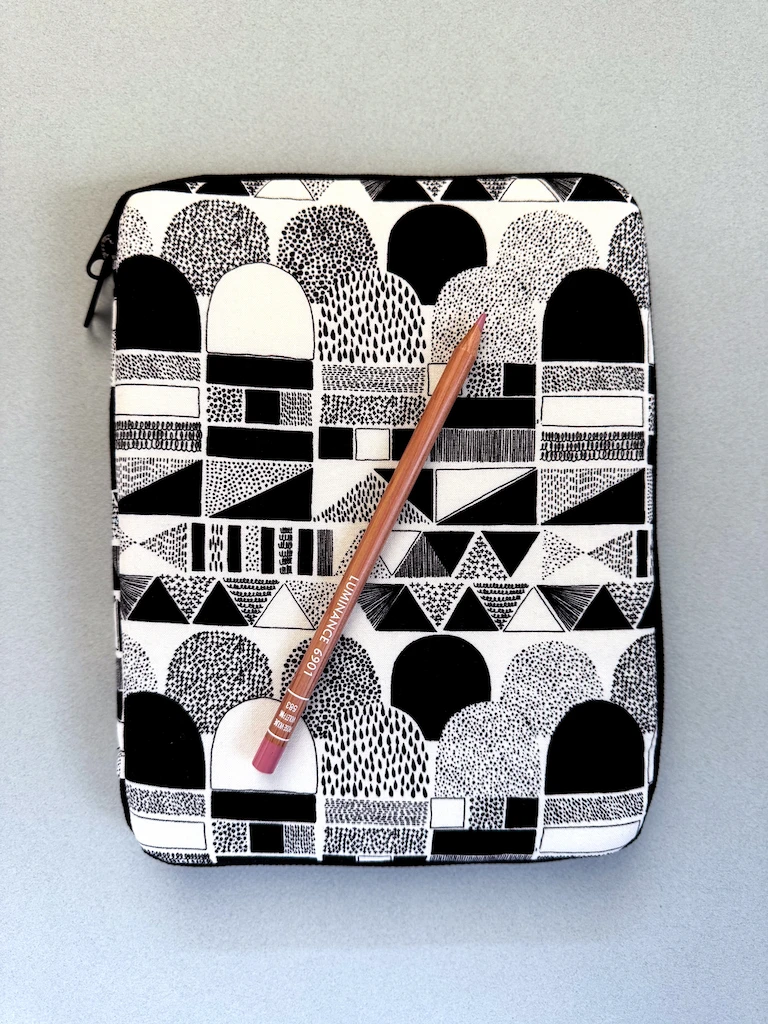
It’s been a couple weeks since I finished this project, but I am still SO THRILLED to have finished sewing my first Creative Maker Supply Case! This is a fabric notions/art supplies organizer that zips around the outside.
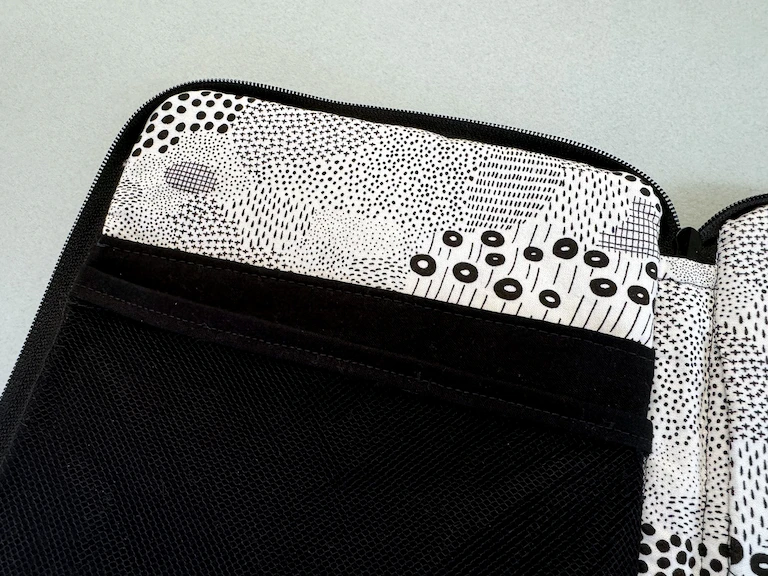
I followed the suggested design, which was to create two pockets on one side of the case, and a series of elastic loops (which kept wanting to pop out of their stitches) on the other side. You could really do anything you wanted in here: I like how Sienna designed bespoke pockets for her knitting cases.
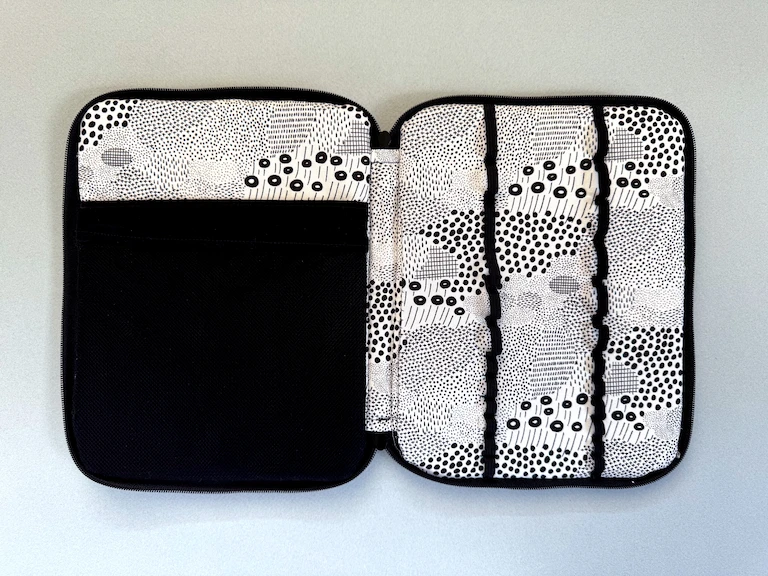
Here’s the case opened up! I closed the interior panels using a slip stitch on my mom’s recommendation. She said that often turns out a little cleaner than top stitching around the piece to close it shut.
The reason I’m particularly ecstatic about finishing this case is that I really thought it wasn’t going to happen! I actually put it down twice. The second time, I was on something like step 22 of 25 and it just got SO DANG FIDDLY trying to put together layers of fabric and foam and zipper that I just couldn’t be arsed. I felt really discouraged by that, because I want to be resilient, but I just wasn’t enjoying the process at the moment.
I decided to put it down for a couple months and bring it with me on my next trip to visit family. My mom and my Aunt Brenda have remote “sew days” together, and I’m so glad I brought my project! Their moral support and second pair of eyes was just what I needed to find the courage and get it done.

My almost-completed work on top of my mom’s machine. Clover clips as far as the eye can see!

A Hot Pocket of fabric before being turned right-side out. At this step I basically had to FOLD half the case and squash it inside my sandwich. Apparently I’m like my aunt and I stop breathing when sewing something a little scary, haha!
What tangibly helped on these last couple steps was using a denim needle. What spiritually helped was my family (including my sister and niece) cheering me on.
If you’re a less confident sewist, I would absolutely recommend purchasing the tutorial video alongside this pattern. The video instructions are very clear and thorough, and it was an immense help to me; any struggles I had at the end here were more a product of not having done these steps before.
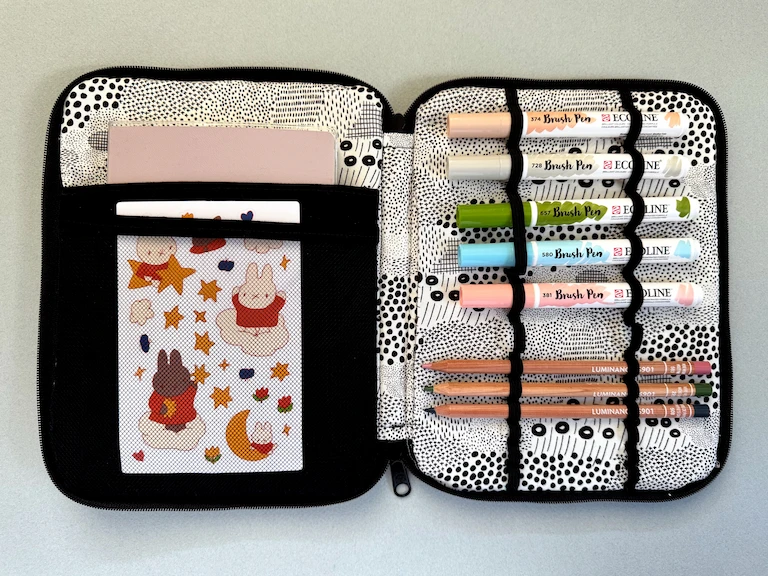
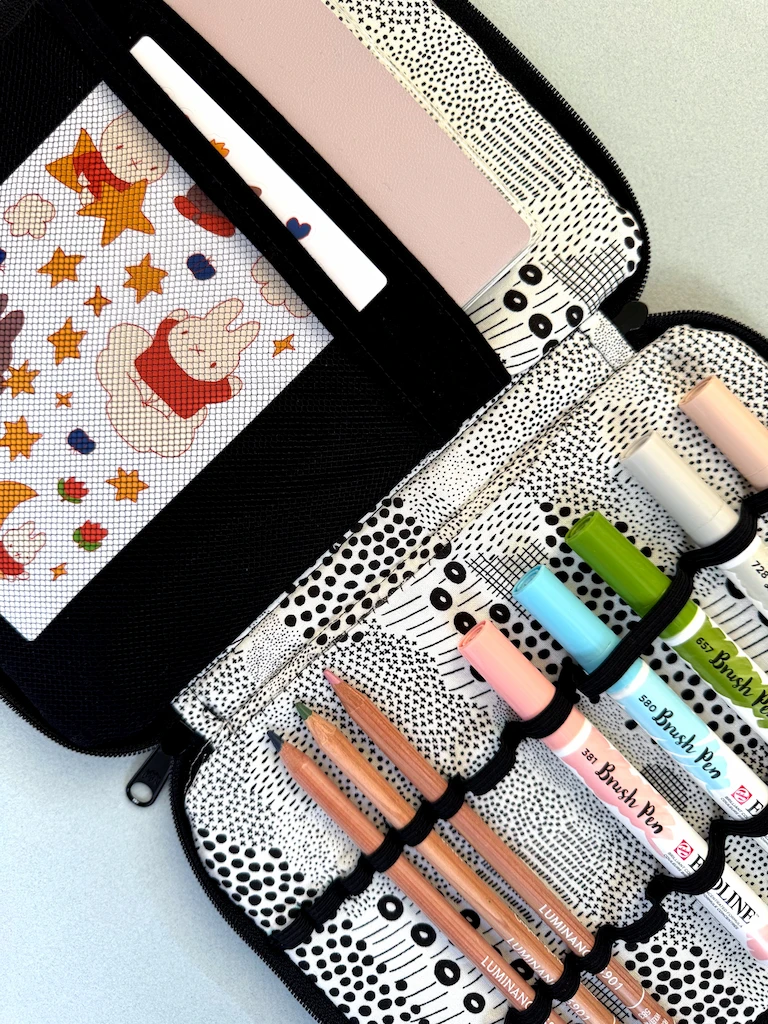
Here it is all filled up! Both the cover and interior feature fabric I bought in Japan years ago. I like how the black and white patterns hold visual interest, but contrast my art supplies really nicely.
The left side can hold an A5 notebook, though the photo shows a smaller B6 version. I would probably not recommend putting a thick hardcover sketchbook (like a Talens Art Creations) in there at the same time as the thicker Ecoline markers that I have in the loops. Things get quite puffy when zipped and I worry about strain.
In any case, I’m super happy with how this turned out, and still thrilled and amazed that I was able to finish it. The sense of accomplishment is such a rush, and now I can’t wait to try something else in my stretch zone. 😅
Like the stickers in my case? They’re designed by Autumn Chiu!
Comments
No comments yet on this post.
Add a Comment