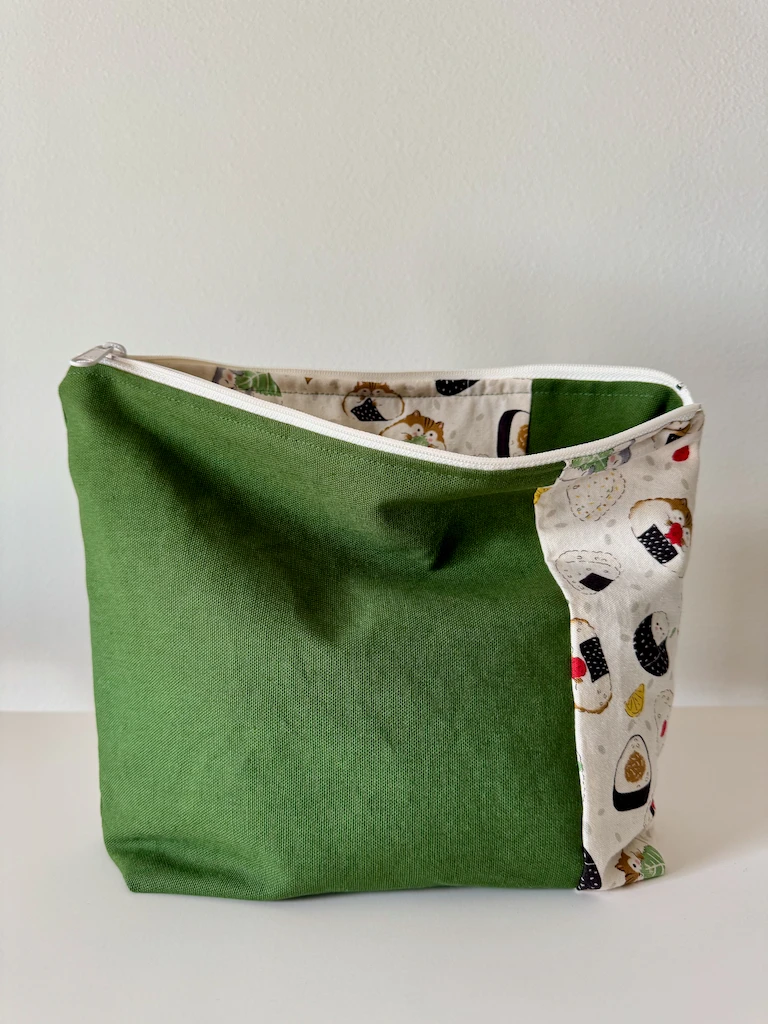
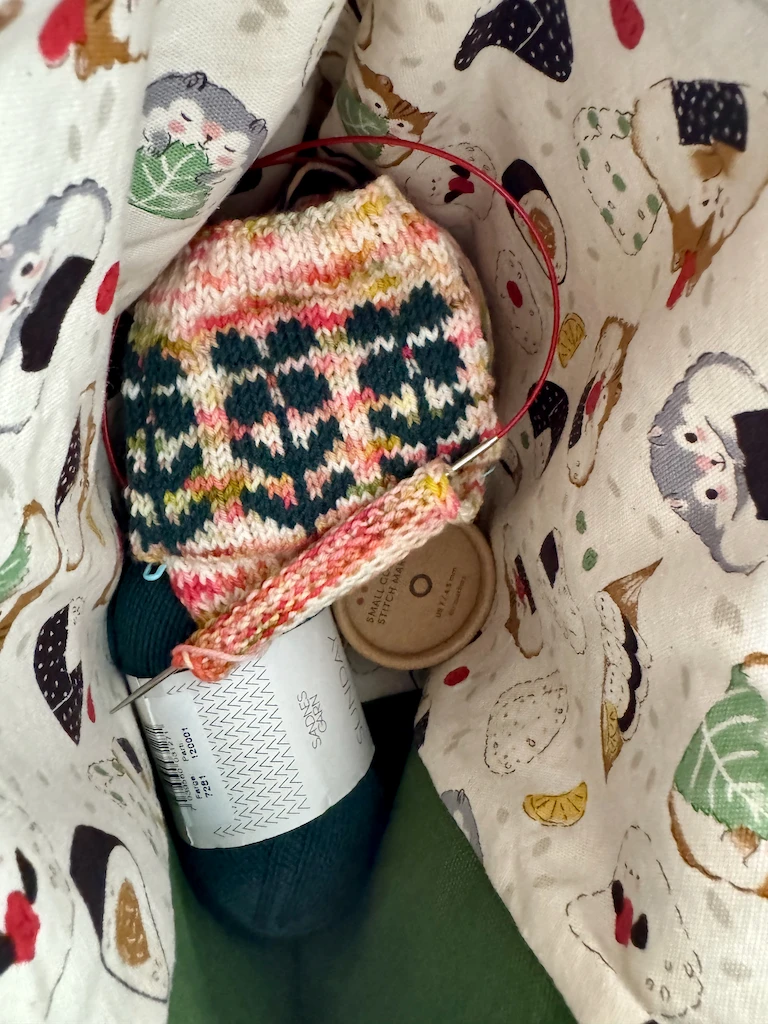
I’d been meaning to make a canvas project bag for knitting, in similar dimensions to a bag I purchased many moons ago. When I saw this onigiri hamster fabric on Stonemountain & Daughter’s website, I knew it was destined to become a liner for this bag!
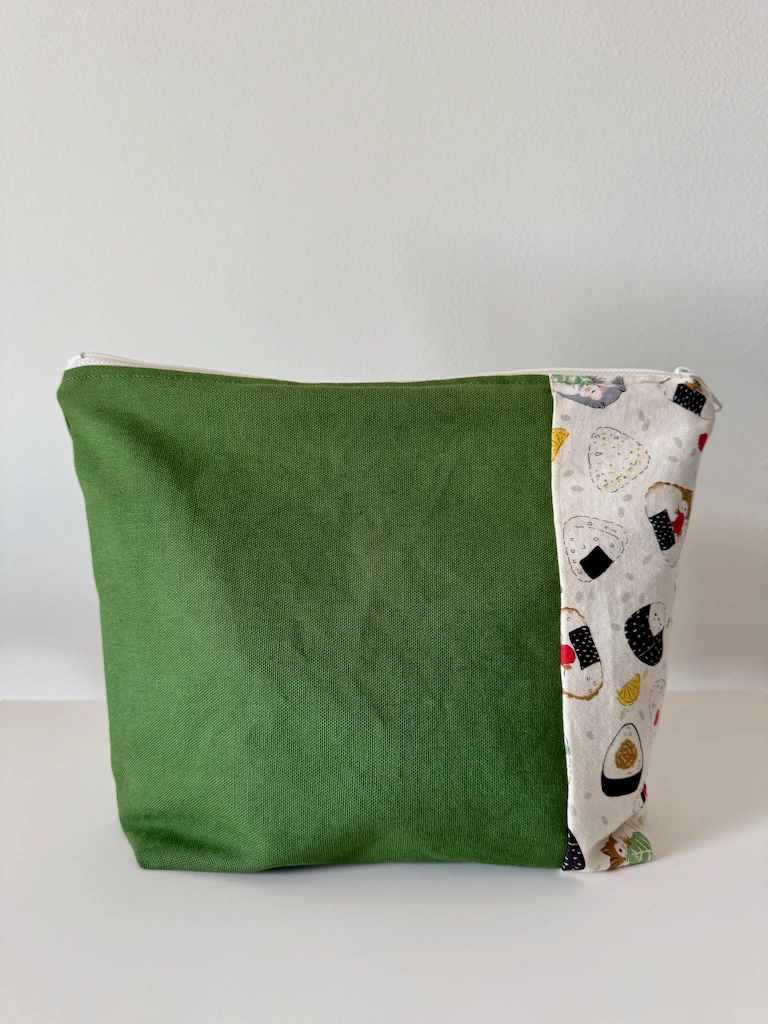
This lined zipper pouch is essentially “self-drafted”, and its dimensions (12” wide, 9.5” tall) are inspired by the store-bought bag—just ever-so-slightly taller.
Quick process notes

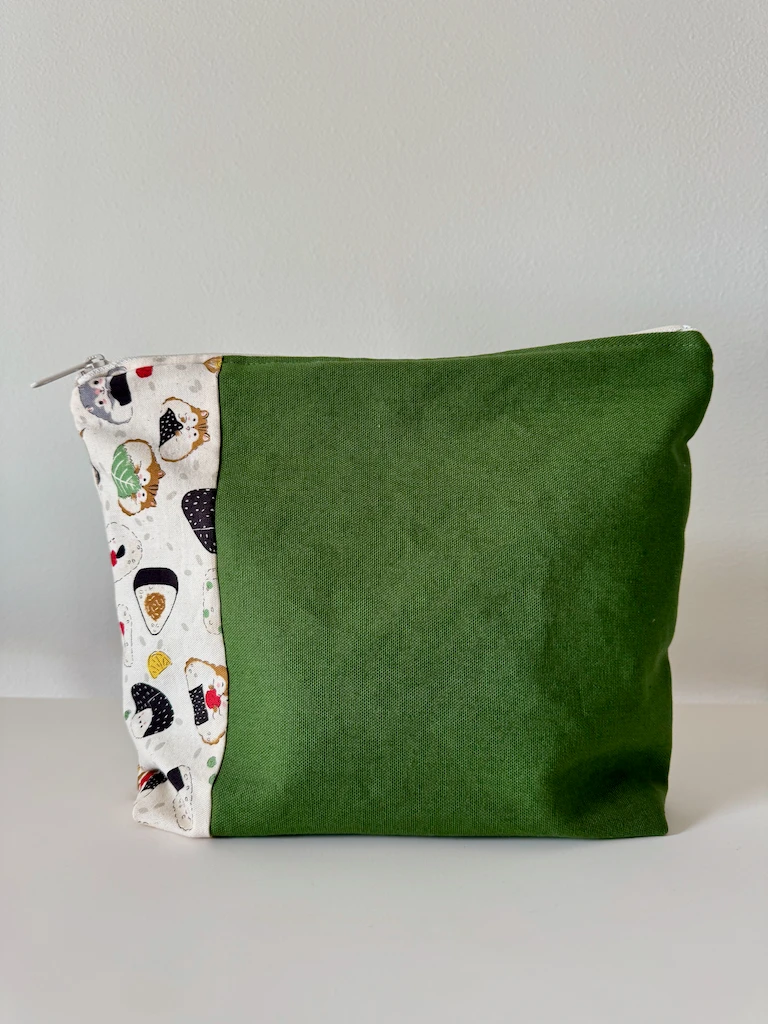
- I was a dork and cut 12” pieces of fabric for use with a 12” zipper, instead of remembering to add seam allowance to my pieces. I purchased the last bit of the hamster fabric, so I didn’t have enough to recut everything. I ended up adding a strip of this heavy-ish cotton to the outer canvas, and did the inverse for the lining. It’s nice now to have the hamsters on the outside too!
- I did have to seam rip one of the outer panels, because I placed the hamsters to the right on both panels. Based on how the fabric sandwich works, that would mean the outer panels wouldn’t be mirrored in terms of where the hamsters are placed. So I ended up moving the hamsters to the left side of one panel. I feel like I’m explaining this poorly but yeah, sewing 3D objects requires spatial thinking!
- I used a ¼” seam allowance when sewing the zipper to the fabric.
- I sewed 3”-long seams to box the corners, since that was roughly the size of the corners on the store-bought bag. When I’m boxing corners I feel like I have no idea what I’m doing, but actually it turned out correct???
- The entire timed I sewed this, I kept muttering “hamstahs!” to myself in a Brooklyn accent and giggling over the sheer cuteness of the little onigiri friends. Get yourself some fabric that makes you laugh! 🐹
Comments
No comments yet on this post.
Add a Comment