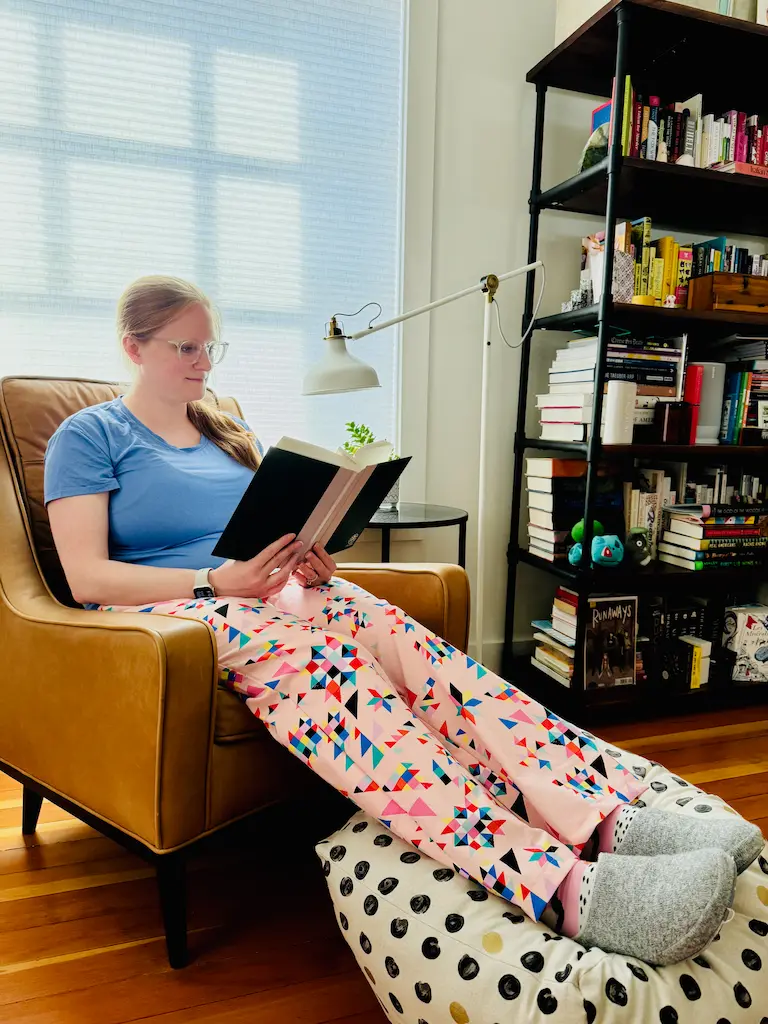
A couple weeks ago I was very brave 🌟 and started my garment-making journey with a pair of Carolyn pajama pants!
I’ve felt intimidated by the idea of sewing clothes, because bodies are complicated and ideally the clothes actually look good worn. For the same reasons I’ve also felt drawn to making my own garments: I have a lot of feelings about how my body looks at age 35 (not helped by the pandemic), and it also feels harder than it should to find clothes I like. I am not trying to wear the fashions of my tween years, but alas they are BACK.
Anyway, I decided to take the plunge with a pair of pajama pants, because if they look bad, who cares! I’m just going to wear them around the house.
Aaaand I ended up being pleasantly surprised by how well they fit!
Here’s how the process went.
Planning
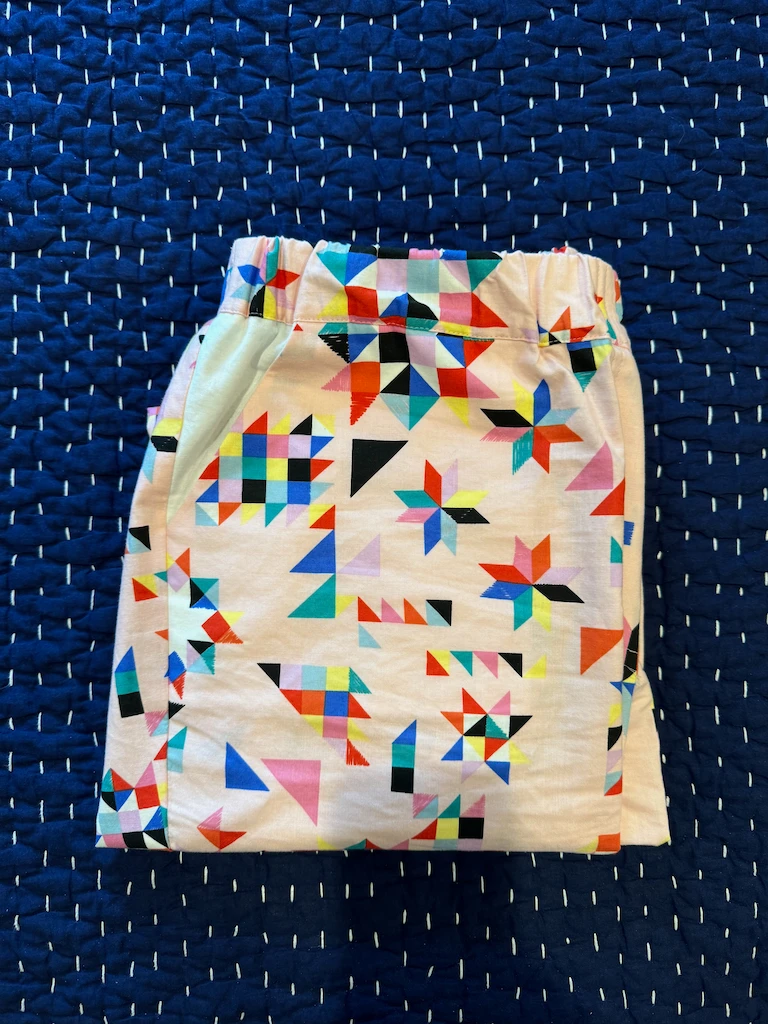
- I decided to use some cotton fabric I purchased forever ago at Mood, when I definitely wasn’t sewing clothes and definitely didn’t have a plan for this fabric.
- I measured myself and decided on a size that is three sizes larger than my ready-to-wear pants. GASP! This is kind of expected, there’s not as much vanity sizing in sewing patterns.
- I didn’t make a top (just the pants in View A) because I don’t like a lot of buttons and such when I sleep, as it turns out.
- I didn’t make a muslin because I am lazy / impatient. Maybe I would do that for more precious fabric or something more challenging that I’d want to wear out of the house.
Pockets
I got a bit confused about how to tackle French seams on the pockets. On my mom’s suggestion, I found a random person on YouTube who had done a sew with me for this pattern. She ended up using a serger on her pockets, so I had to figure it out on scrap fabric anyway, but this is such a hot tip anyway. As I was going through the pattern, I’d watch how the YouTuber tackled the project. This was illuminating when I was mildly confused, and gratifying when I had interpreted the instructions correctly myself.
For the pockets, I think it would’ve been easier to work out the spacial thinking, had I used patterned fabric. I used solid Kona cotton fabric for the pockets.
Faux fly
I used the overcasting stitch on my Janome HD-3000 to finish this and any other seams that needed it. Finishing seams is fun! You get to make the sewing machine go brrrrr without worrying much about the structural integrity of the seam.
Side seams & inseams
The YouTuber did her side seams first and then inseams, which is the opposite of what the instructions suggest. I liked this order and ended up copying it: to me, the side seams seemed more stable and the inseams a more fiddly operation.
I was concerned at first on this step because the back and front leg pieces look so different from each other. But if you line up the notch marks and ease the inseam into place, it all really does work out just fine.
Waistband
Why is it that one of the last steps is often the hardest? Two things here:
- You have to stitch in the ditch from the outside to create the waistband casing, which was quite the struggle for me because it requires precision. Stitch too high and you’ll not leave enough room for the elastic; stitch too low (more likely in my case), and you won’t catch an interior fold properly. I’m not describing this well because I am trying to forget (JK).
- I wish I had watched this step on the YouTube video first, because she was SO SMART: she wrapped the elastic around her waist (separately from the pants) and make sure that was a comfortable fit, before threading it through the waistband. I did not do this and it was super annoying to cut down the elastic while it was fed into the waistband.
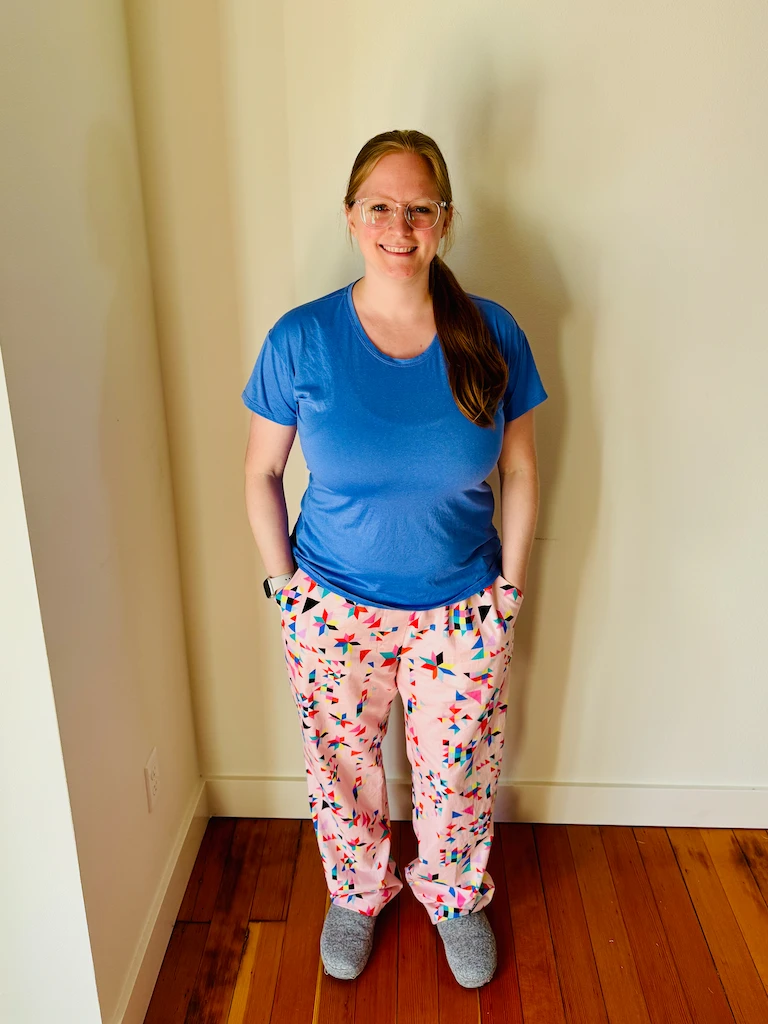
Tada!
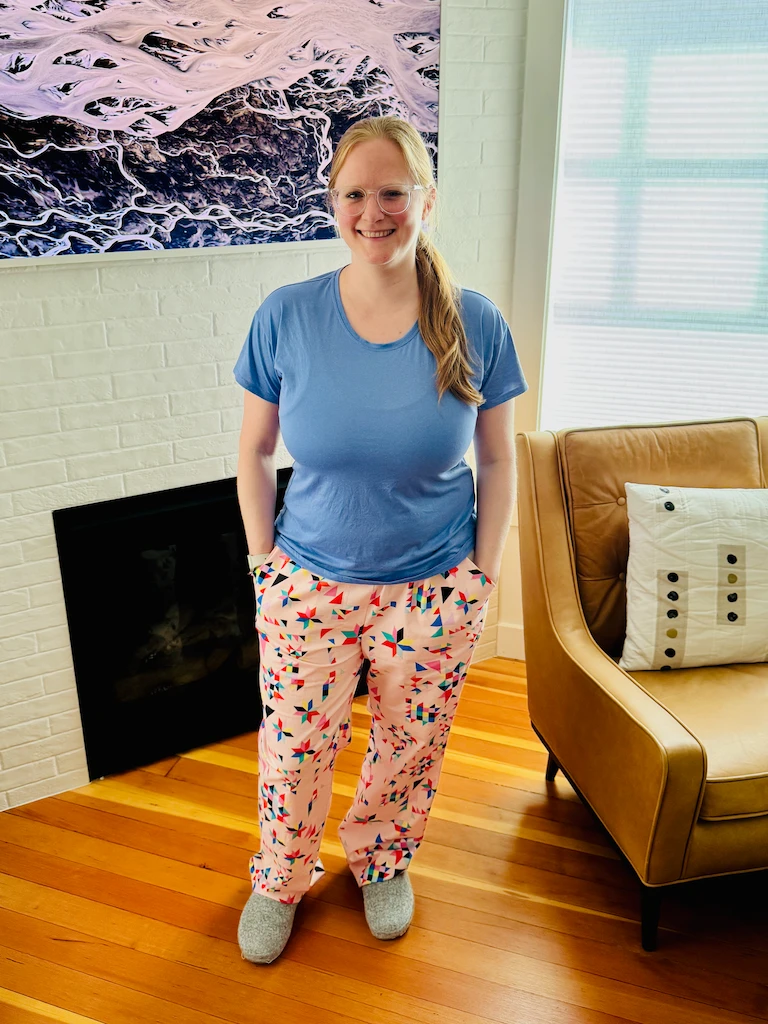
I’m pleased with how the fit turned out, though I think I could’ve gone down a size based on how much I took in the elastic and how much breathing room I have generally. However, I do prefer a bit of breathing room in PJs. Maybe next time I’ll hem a little bit more of the length away.
What’s next
I do have more of this fabric left, so I went on the hunt for a woven t-shirt pattern and found the Topstitch Essential Shirt. I’m surprised that this pattern doesn’t have many makes on Instagram; perhaps I’m searching the wrong tag? It seems useful, beginner-friendly, and very cool that there’s a full bust adjustment panel included. Anyway, stay posted, maybe you’ll catch me sharing a matching PJ top!
Comments
No comments yet on this post.
Add a Comment