I’ve been traveling with my Kobo eReader in the strawberry marker pouch I made, which is decidedly summery and only fits the Kobo in one direction. So I decided to make another zippered pouch!
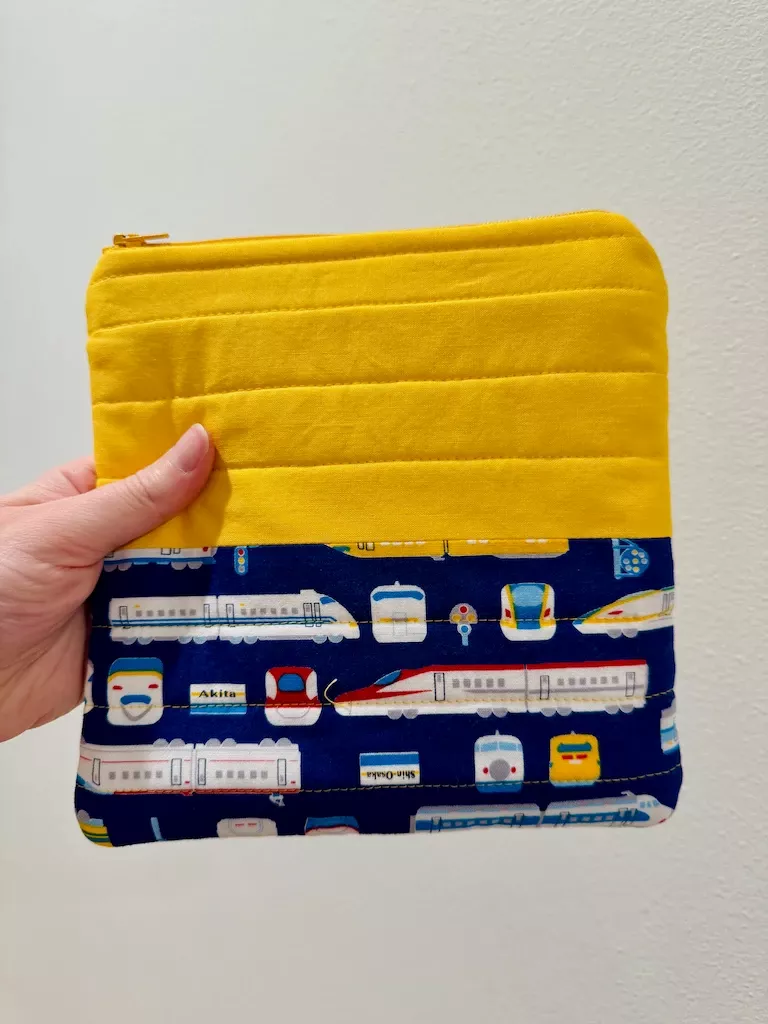
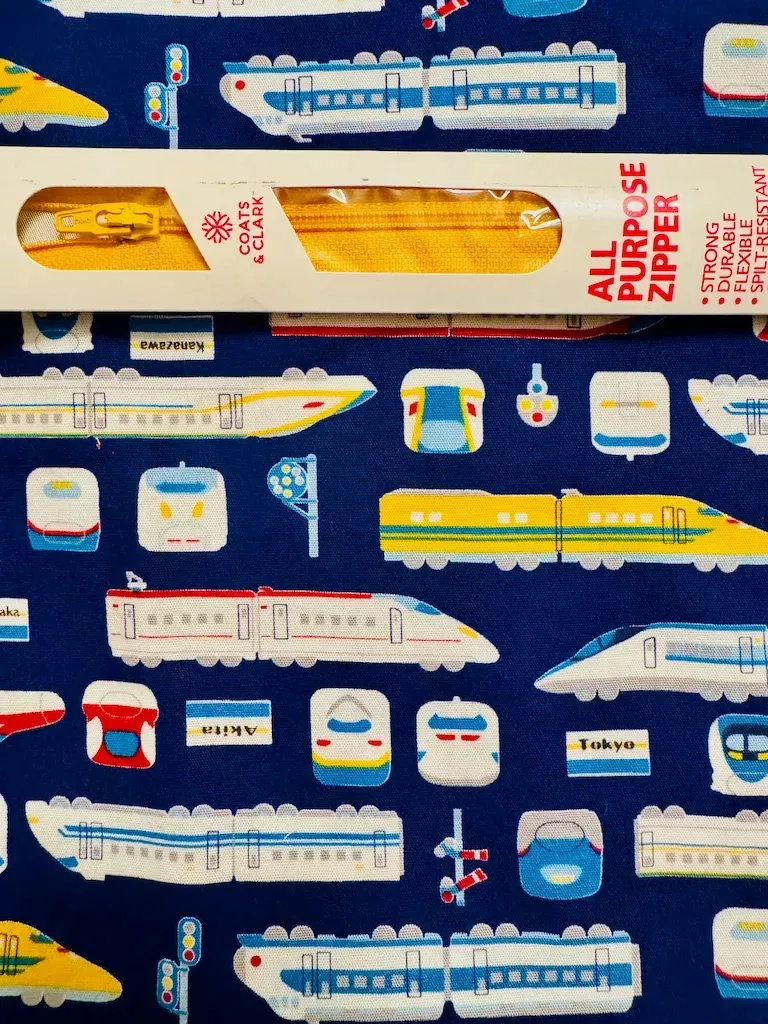
Way back in 2017 I bought a few fabrics in Tokyo and took awhile to actually use my stash. One of these was a quilting cotton printed with a Shinkansen pattern. The Shinkansen is a network of bullet trains across Japan. I’d still like to use this fabric for something topical—maybe something to hold a passport or rail pass in—but I had plenty and decided to use it for this pouch!
Planning
My initial plan was to make the outside of this pouch half navy fabric and half trains. I don’t know if I had misplaced, used, or never had the navy fabric I was thinking of, but the navy was replaced by a bright yellow that incidentally matched the zipper I had on hand.
I decided to make the pouch 8x8" to account for: (the long side of the Kobo Libra 2 + the thickness of the Kobo + a little extra space for fabric loft and crooked seams)
Outer fabric
To make the outside of the pouch, I:
- Cut 2 pieces each of trains and yellow fabric, 9 x 4¾"
- Sewed the yellow to the trains with a ¼" seam allowance
- Cut cotton batting and backing fabric to 11x11"
- Quilted the whole sandwich in 1" intervals from the center seam
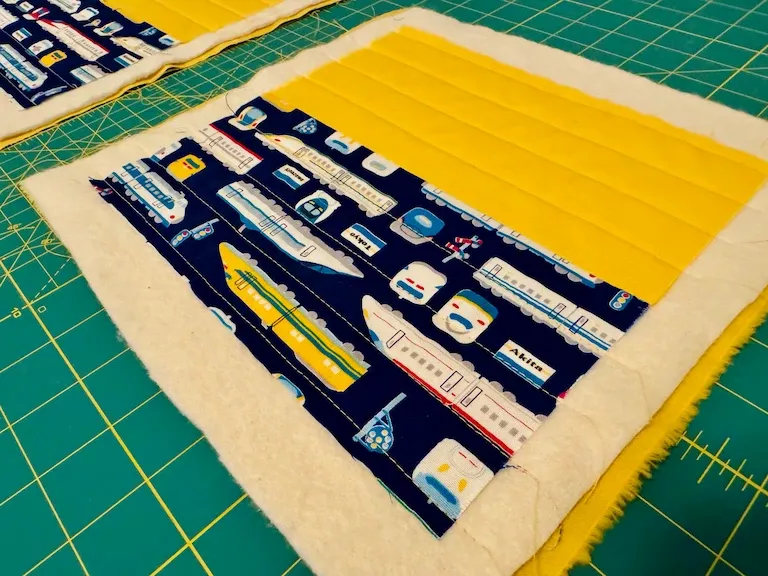
The idea with the quilting pattern was that the horizontal lines would mimic the directionality of the trains.
Pouch construction
Whenever I make a zippered pouch, I follow MADE Everyday’s zipper pouch tutorial: clear, simple instructions at 13 minutes including intro and outro.
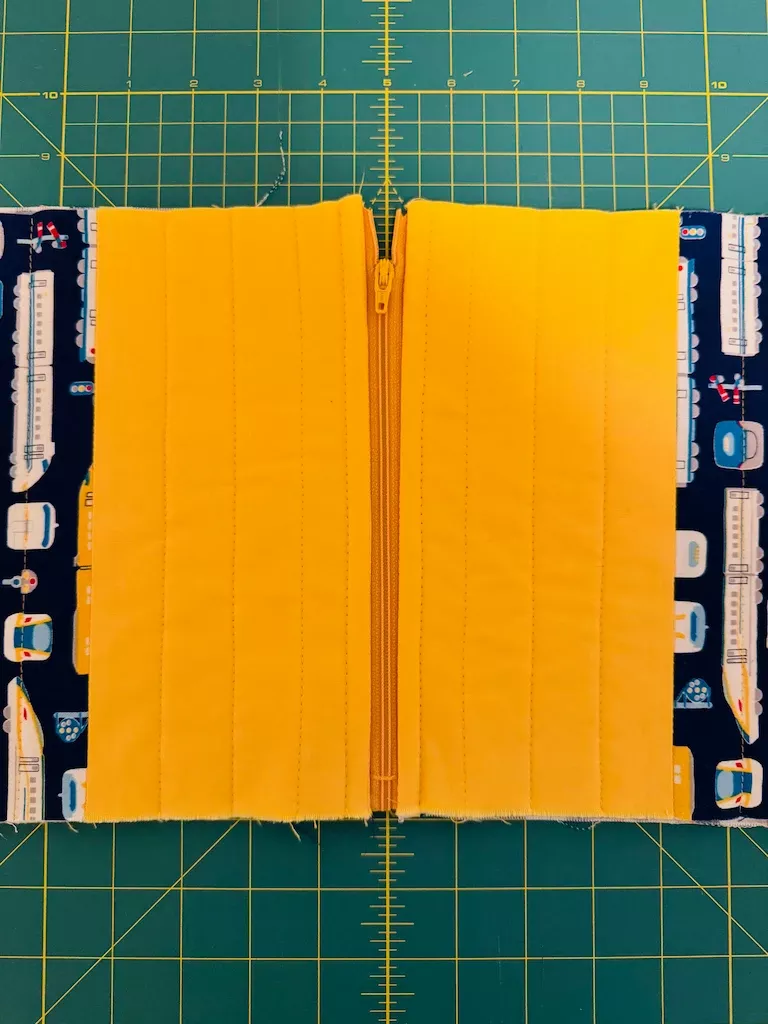
The challenge I always face when making lined zippered pouches—particularly when I’m using quilted outer fabric—is that the sandwich gets so THICK. Sewing through the side seam near the zipper was always pretty sketchy.
And then. I learned what that dang black button on the side of the presser foot is for! I followed the advice of the linked video on this project and was able to get through that thick patch much more easily.
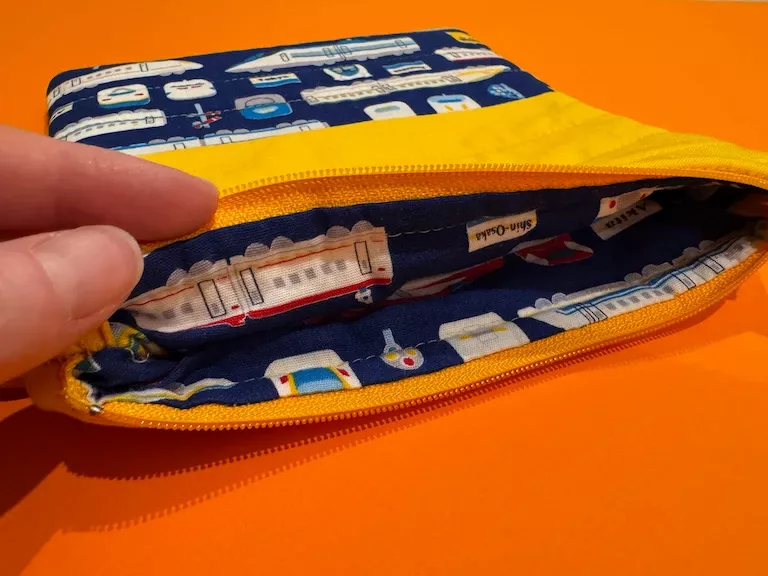
After I turned the pouch right-side out, there was still a lot of strain on some of those stitches. My mom’s advice for next time was to go back over that area (before turning it out) with the triple stitch on my machine. I say next time because I mostly employ a “just keep swimming” strategy with craft projects, for better or worse. 🐠
The moment of truth
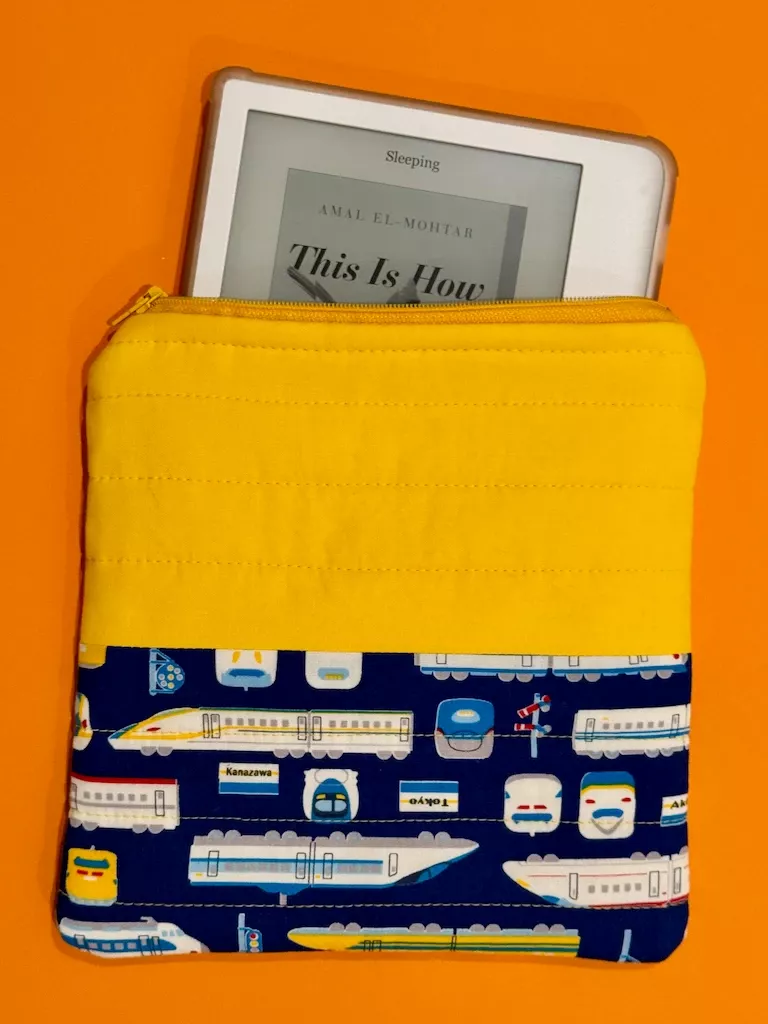
My Kobo fits nicely! I really love the square aspect ratio of the pouch, and I’m glad I gave it a little extra padding. 💛
Comments
No comments yet on this post.
Add a Comment